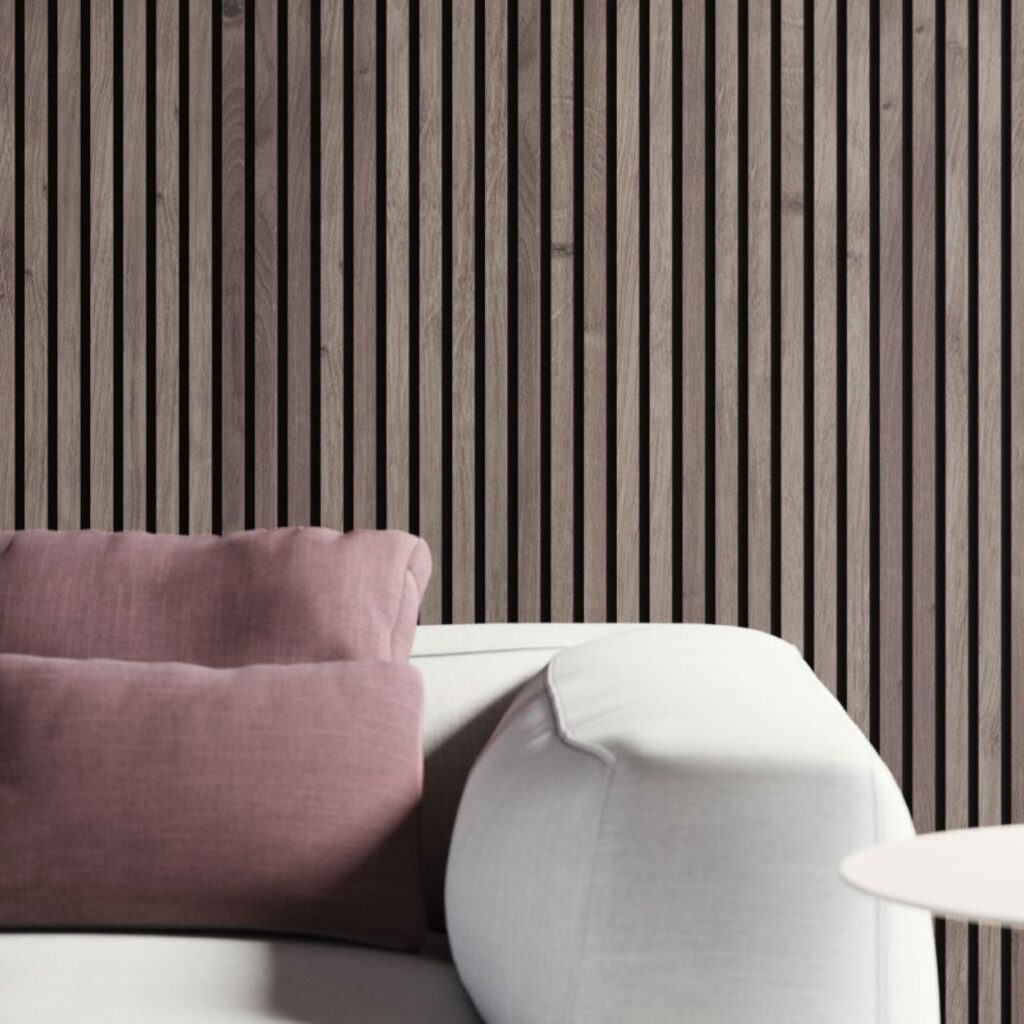
Whether you’re aiming for better sound quality in your home office or just want to add a stylish feature wall, acoustic wall panels are a great choice. They reduce echo, improve acoustics, and look great in both modern and traditional spaces. Best of all? You don’t need to be a professional to fit them.
Here’s a straightforward guide to installing acoustic wall panels — and some practical tips to make your project a success.
What You’ll Need
Before you start, gather the following tools:
- A tape measure
- Spirit level
- Pencil or chalk for marking
- A panel saw or handsaw
- Suitable adhesive or fixings (depending on your wall type)
You’ll also want a clean, dry wall surface for best results.
Step 1: Plan Your Layout
Start by measuring the wall and deciding how many panels you need. Remember to account for corners, light switches, sockets, or uneven surfaces. It’s a good idea to lay out a few panels on the floor first to visualise the final look.
Step 2: Mark and Prep the Wall
Use a spirit level and pencil to draw a straight line along the wall where your first panel will go. This ensures the entire row stays level — especially important if you’re installing slatted panels with visible lines.
If you’re sticking panels directly to the wall, give the surface a wipe-down first to remove dust and grease.
Step 3: Cut Panels to Fit
Measure and cut any panels that need to fit into corners or around sockets. A sharp handsaw or circular saw will do the trick — just be sure to wear a dust mask and cut slowly for a clean edge.
Step 4: Install the Panels
Most panels can be fixed using grab adhesive or screws, depending on the material and wall type. For solid walls or long-term installs, screws with wall plugs are recommended.
If you’re going for a no-drill option, high-strength adhesive can work well — just apply it in a zigzag pattern and press the panel firmly into place for a few seconds.
For those looking for affordable, stylish options, we recommend checking out this range of acoustic wall panels — ideal for DIY projects and budget-friendly sound improvement.
Step 5: Finishing Touches
Once the panels are up, step back and make sure they’re aligned properly. If there are any small gaps, you can use colour-matched filler or edge trims to create a clean, professional finish.
Final Tips
- Let adhesive cure for 24 hours before placing heavy objects nearby
- Avoid humid conditions during installation (e.g. freshly plastered walls)
- Consider doing one wall at a time if you’re unsure of the layout
Acoustic panels are one of the easiest and most effective ways to refresh a space. With a bit of patience and planning, you can transform your room’s look and sound — no pro needed.


